Laravel Deployment on Cloudways with Envoyer
Envoyer is a popular option for integration application level processes including zero downtime integrations, integrity checks, cron job observing and pretty much all similar requirements of software integration processes.
In many cases, when integrating a Laravel powered app, you have to use the “php artisan down” to setup a support page until the application has been integrated. During the time Composer works, a visitor could hit a snag if they load up the app during updates. Envoyer eliminates all these issues and ensures that despite the updates, every user could enjoy your app.
Envoyer works well with all popular repository management platforms such as GitLab and Bitbucket. Other benefits include unlimited deployments and addition of team members. In this article , I will guide you through the process of deploying a Laravel application on Cloudways using Envoyer.
Prerequisites:
For the purpose of this tutorial, I assume that you have a Laravel application installed on a web server. My setup is:
- Laravel 5.5
- PHP 7.1
- Envoyer
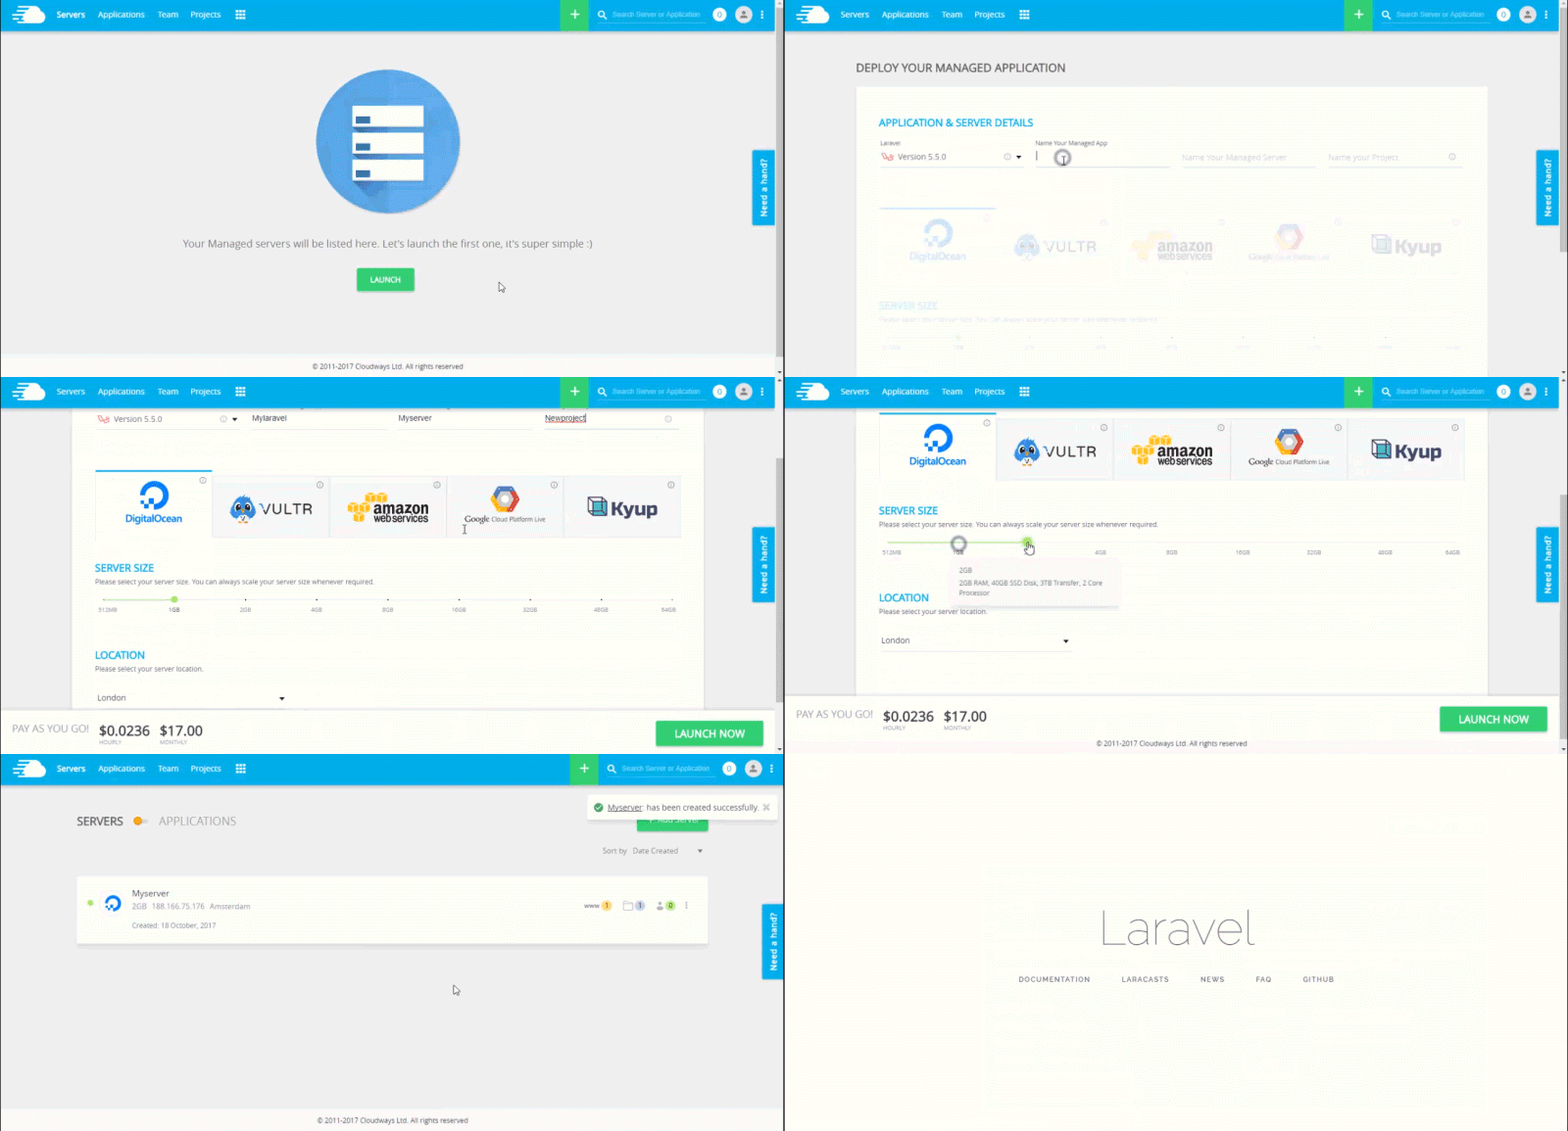
I have installed a Laravel app on a Cloudways Laravel cloud server because it has a Laravel optimized dev stack. If you do not have an account on Cloudways, sign up for free, and check out the following GIF to setup the server and application in just a few clicks.

Set up an Envoyer Account:
First, go to the Envoyer’s website and register your account. Next, login to create a new project.


Set up an Envoyer Account:
Next, connect your repository with Envoyer. The good thing about Envoyer is that the repository could be hosted on any platform including Github, Bitbucket or any other self-hosted repository. For the purpose of this article, I will work with GitHub.

The project will be added to the account and the GitHub repository will now be connected to Envoyer.
Project Dashboard:
After the project has been added, it will show up on dashboard alongwith the repo, the project name and the date.

Add Cloudways Server Credentials:
The next step is the addition of Cloudways server credentials to Envoyer. These credential are available in the Cloudways Console. For this, you need to sign up for a Cloudways and launch a Laravel application.

Next, fill out all the required fields and save the server.

Once the server has been saved, you will be provided a SSH key.

Copy the key and go to the Cloudways Console. Click the ‘SSH Public Keys’ button, give a label to your key and click Submit.

Deploy the PHP Application:
Hit the Deploy button to deploy your PHP project. You can also deploy applications via Git Push by selecting ‘Deploy when code is pushed’ option in the settings.
The progress of the deployment process could be viewed in the deployment tab. You can get additional information related to deployment by clicking the arrow button next to the deployment status.

Deployment Folders on Cloudways:
Once deployed, login to the Cloudways SSH terminal, and move to your application folder. You will find two new folders, current and releases.

The current folder has the current version of the application’s code under development. The release folder contains the previous releases arranged in folders that are named with the date and time of deployments.

In case of issues, Envoyer allows you to easily rollback the current deployment. You could also schedule regular heartbeats to check on cron jobs. All the notifications are delivered through the channels of your choice including Slack and Hipchat.
Conclusion:
Envoyer is an extraordinary tool that should be a part of all Laravel application development and maintenance processes. The usage is straightforward and you could specifically set it up so that the most recent version of the application is always deployed without any hassle.
If you have a question about using Envoyer for Laravel apps, you can contact Pardeep. He is a PHP Community Manager at Cloudways.You can email him at pardeep.kumar@cloudways.com.

